As an educator, I firmly believe in the power of food to enhance the learning experience for my students. With each country unit that I teach, I make sure to incorporate food as a way to bring the culture to life and engage my students on a sensory level.
Not only does this approach allow students to learn about the art, history, and customs of the country in a more meaningful way, but it also helps them to develop a deeper connection with the culture and people they are studying.
CREATE A MEXICO FOOD PLATTER TO SUPPLEMENT YOUR MEXICO UNIT!
If you are planning a Mexico unit study, a Mexican celebration, or even traveling to Mexico with your family, you too can provide your children or students the same learning experience with a little advanced prep and food items that won’t break your budget.
Follow the steps and suggestions below…
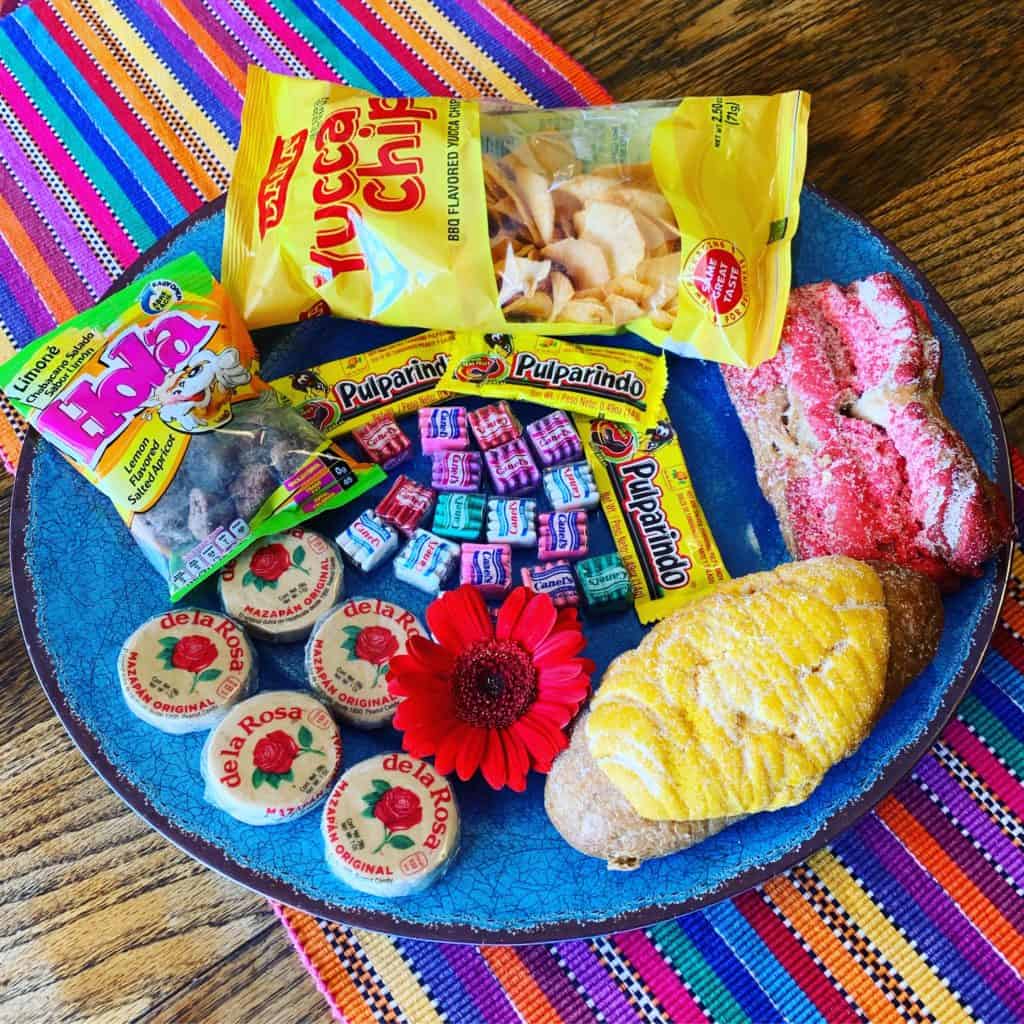 MAKE A FOOD PLATTER TO BRING THE FLAVORS OF MEXICO INTO YOUR HOME OR SCHOOLROOM
With each Mexico unit I teach, my students are always excited to see what culinary creation I will present, and even a simple bowl of exotic fruits can transport them to Mexico and set the stage for an immersive and engaging learning experience.
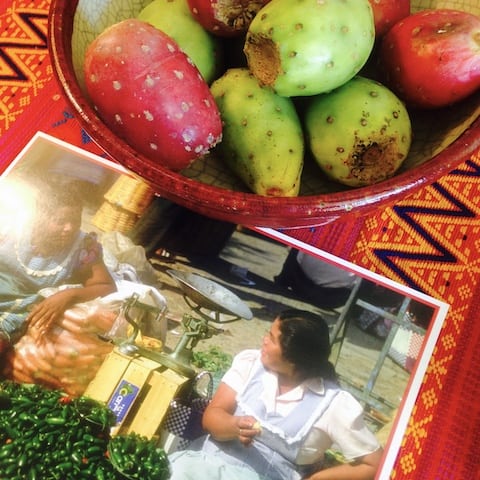 I always present food on a platter, flat basket, decorative plate, tray, or bowl that matches the country unit I am teaching. No need to buy new, just look around the house for whatever works best for Mexico.
First I think about the art lesson or topic we will be covering in class and then I present food that corresponds with that lesson.
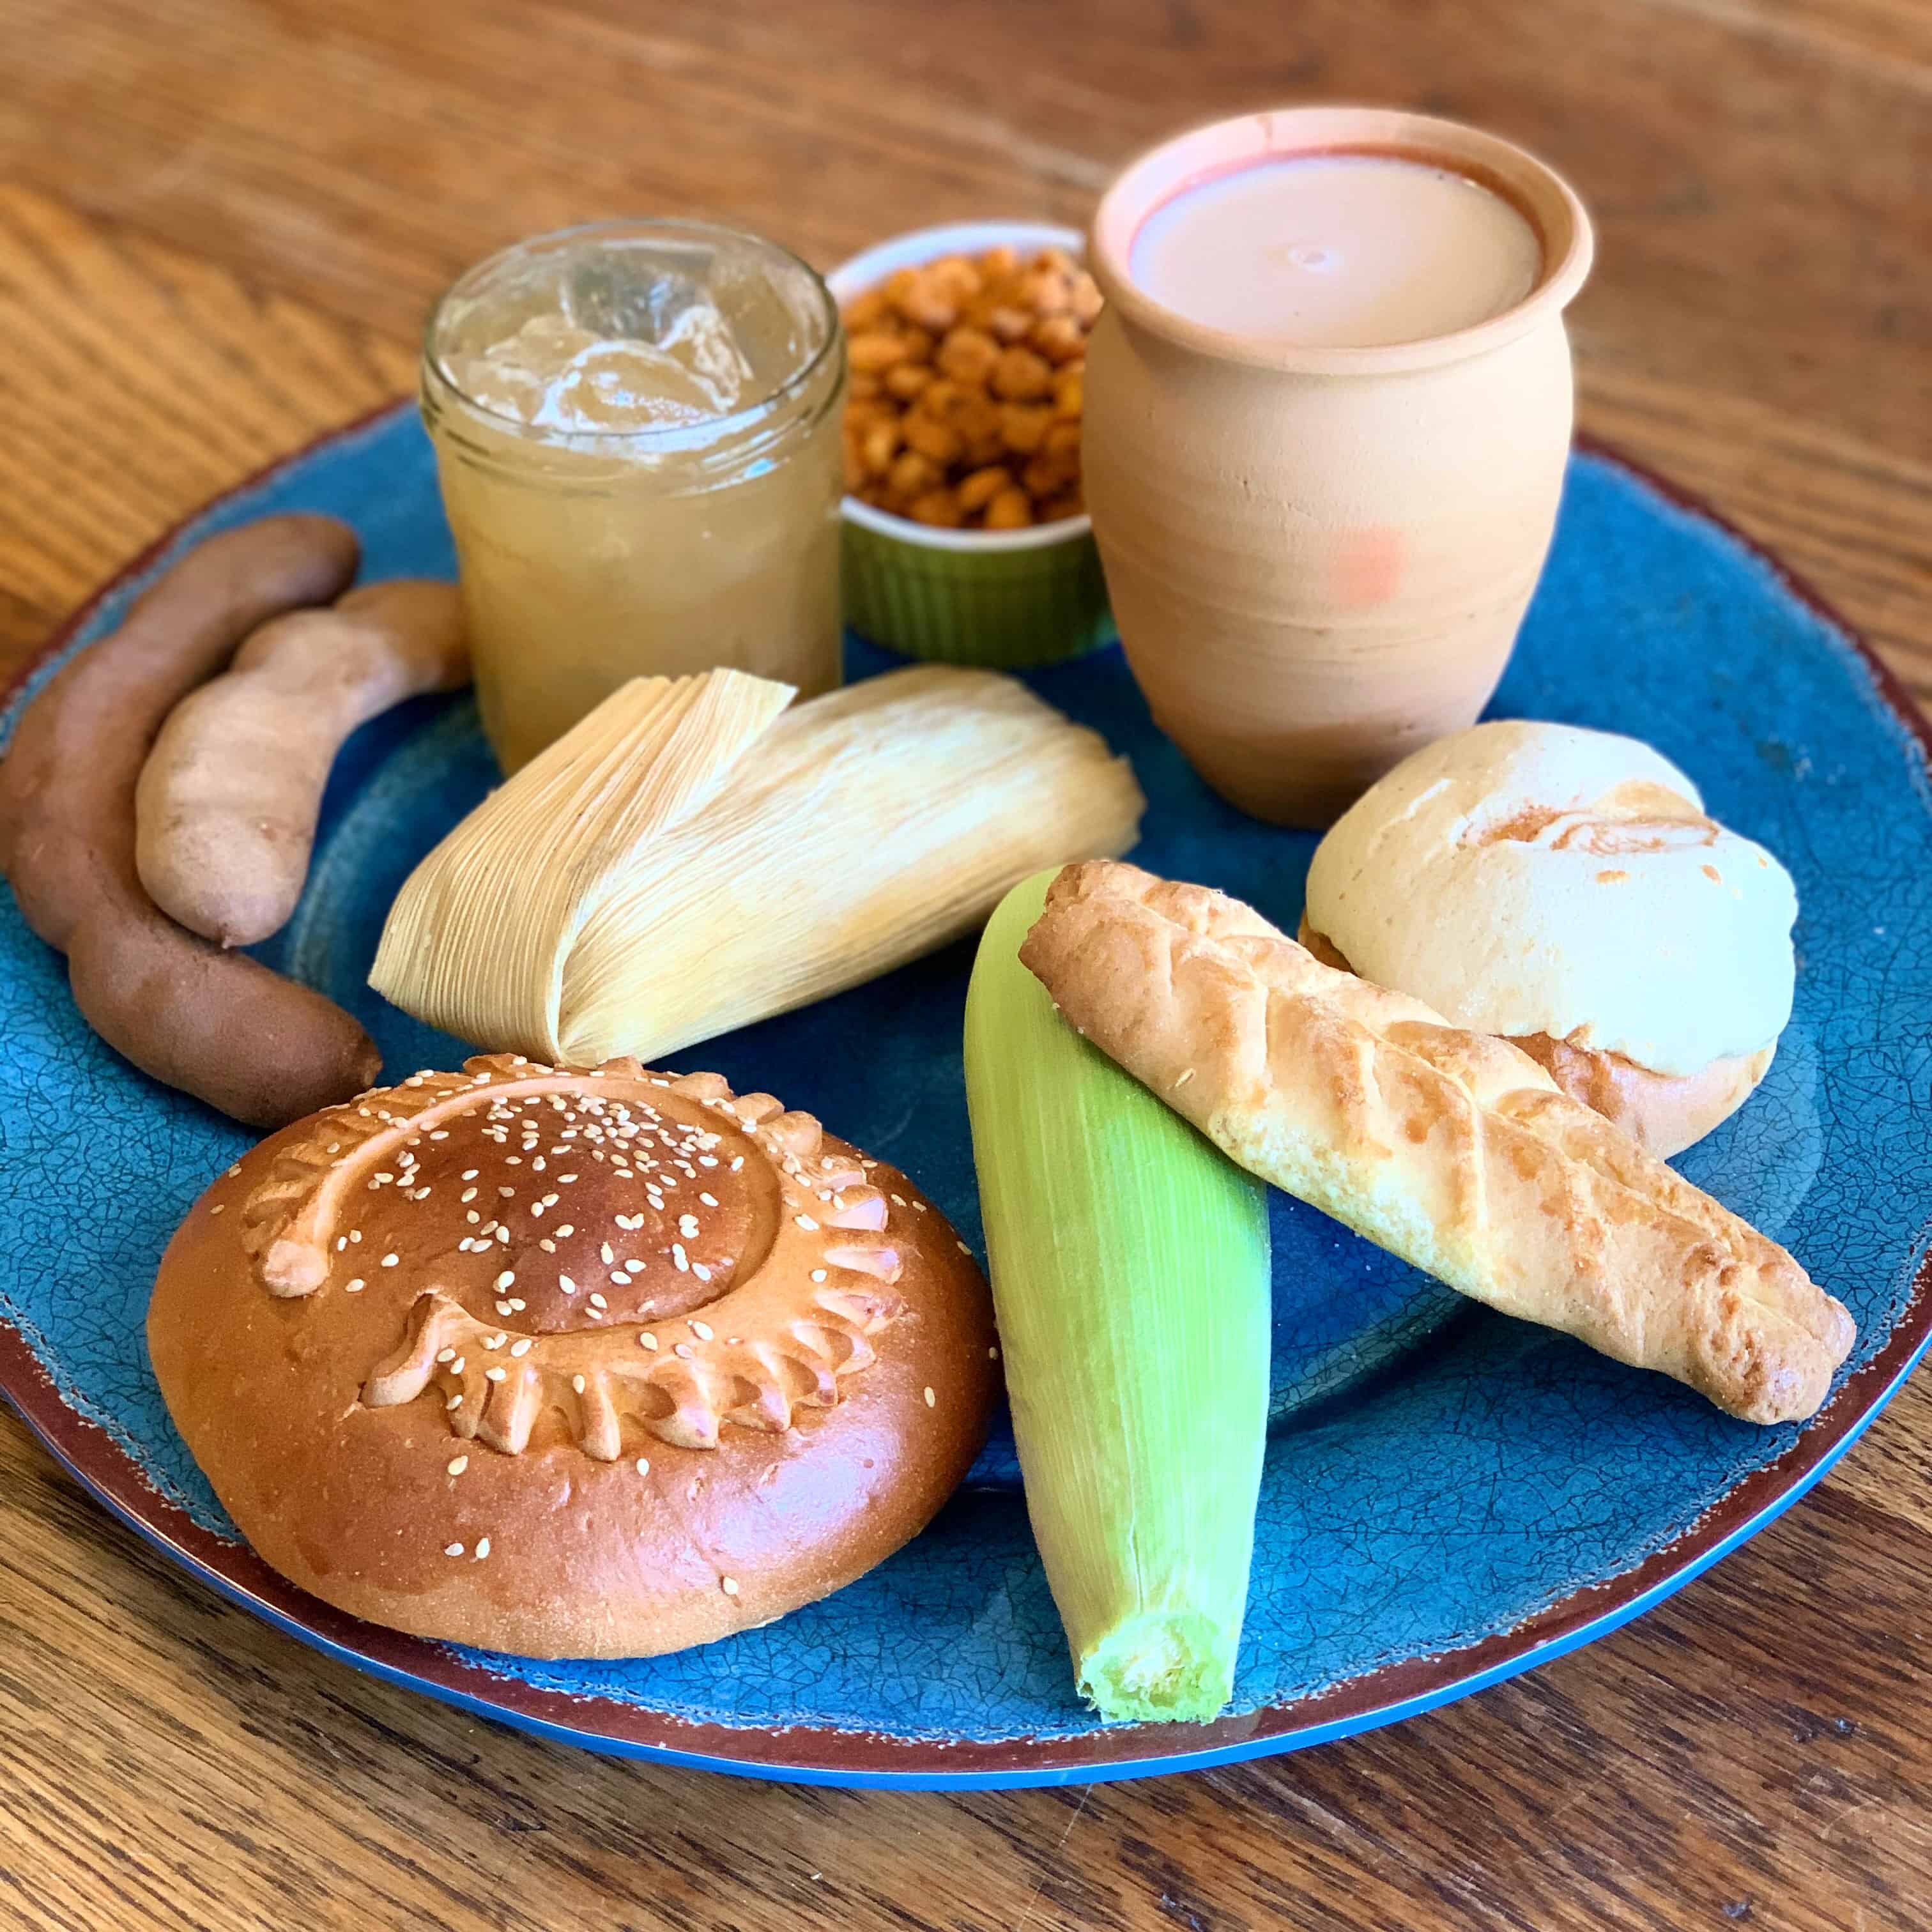
For example, for our Huichol Bead and Huichol Yarn art projects, I presented a food platter with items of corn as the Huichol believe that corn is the source of all life.
At the Mexican market, I bought a tiny bag of corn nuts, one to-go cup of atole (a warm drink made from masa harina, corn dough flour), and one corn tamale. I also bought a few other simple, inexpensive items (one ear of corn, one to-go glass of tamarind juice, a few tamarindo pods, and two pieces of Mexican pan (bread).
These items together created the authentic look and feel of the Huichol tribe that I was looking for.
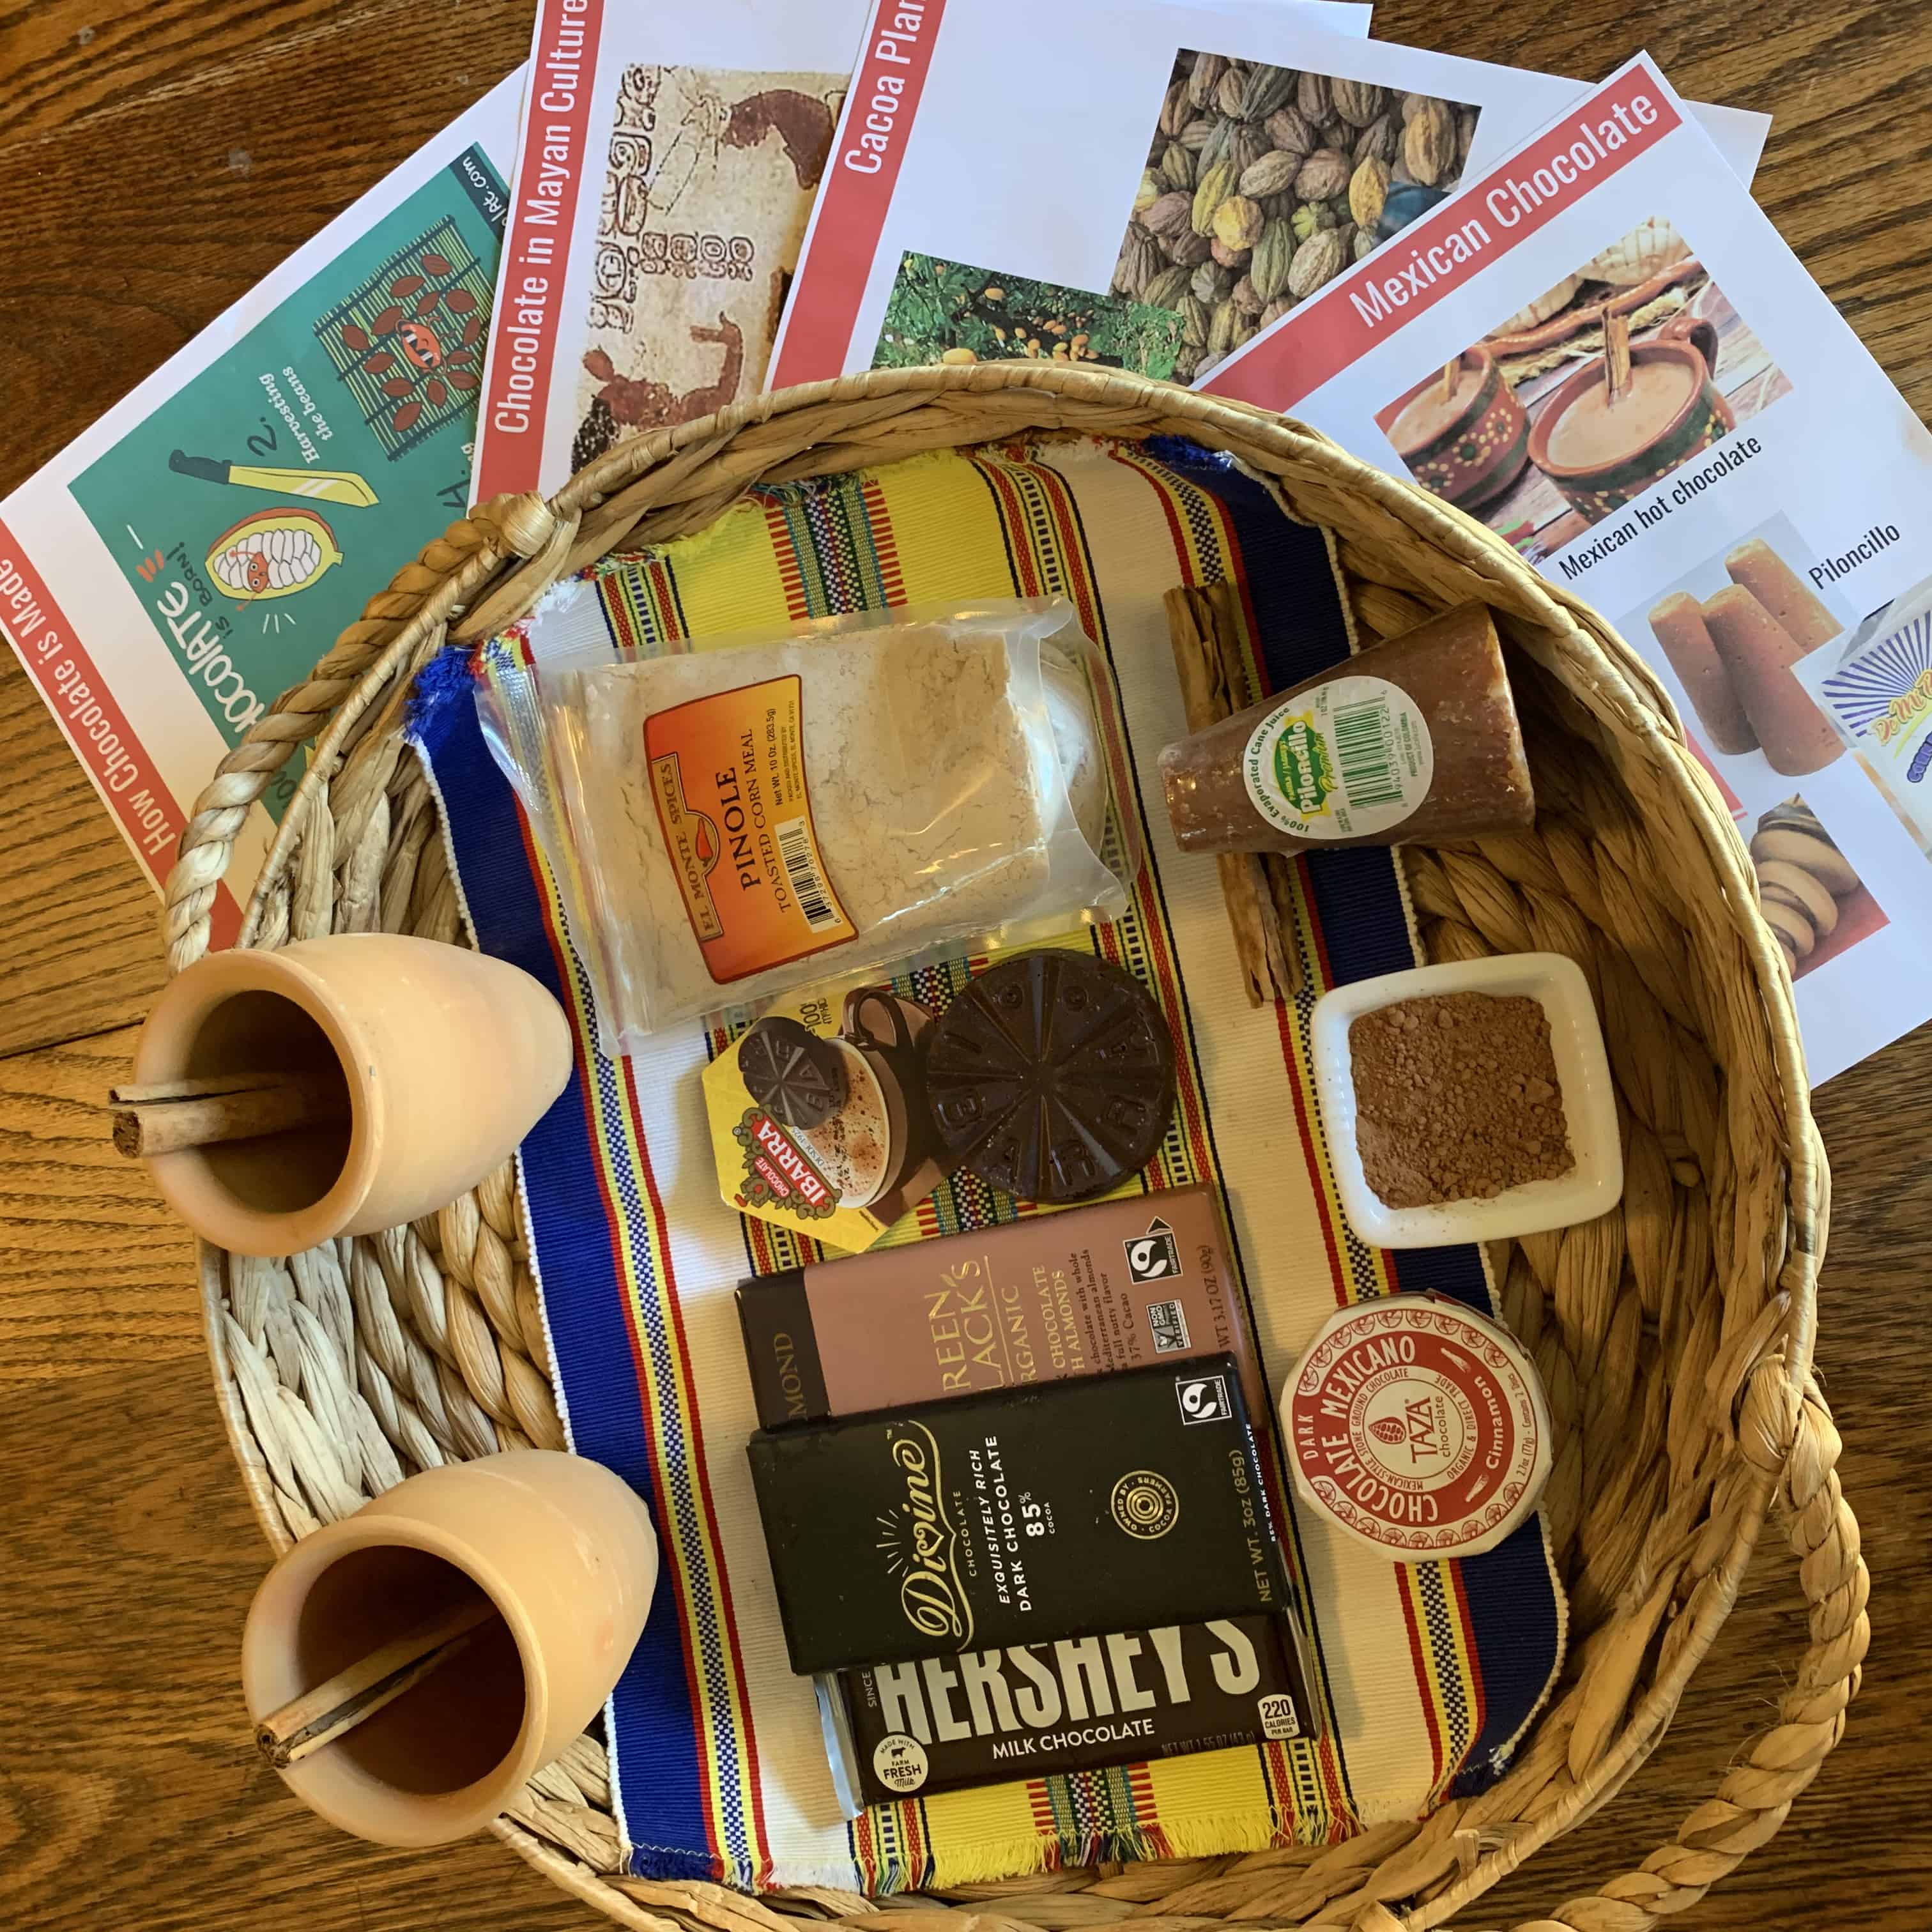
This next photo shows the food I chose when teaching about the invention of chocolate (cacao) by the Maya.
I offered various darknesses of chocolate that we could taste-test and also displayed the ingredients needed to make Champurrado, Mexican Hot Chocolate, in class.
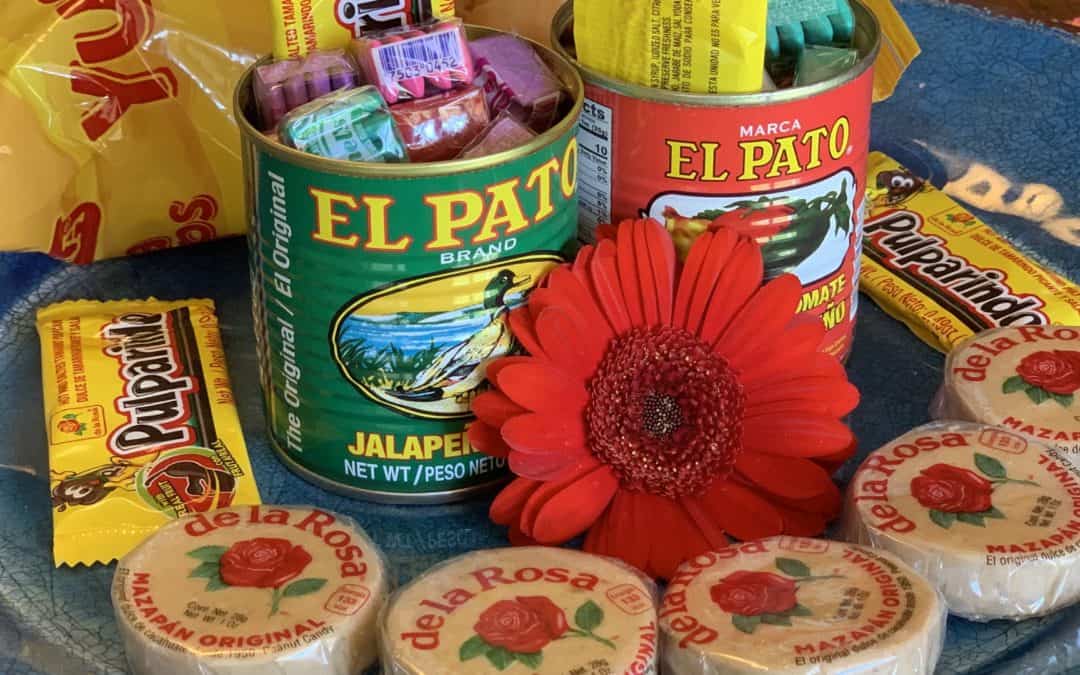
For our Day of the Dead altar-making class, I created a platter centered on the traditional bread eaten during this holiday, pan de muerto. This bread on its own is a show-stopper but to make the platter complete I needed a few extra items.
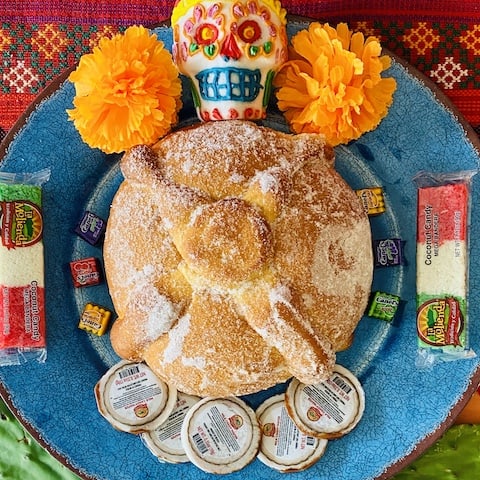 I added a few of my go-to Mexican treats and a few marigold flowers to make this food platter unique. Marigolds are the flower used to decorate altars during Day of the Dead.
The chicle, gum, I added because it was colorful and I could share the story of buying this gum in Mexico when I was a child.
Little, inexpensive details go a long way!
TIPS I’VE LEARNED FROM EXPERIENCE THAT WILL SAVE YOU TIME AND MONEY
None of the food platters shown above will cost you a lot, but if you don’t have access to a Mexican market, you can research commonly eaten foods in Mexico and purchase them at your local grocery store.
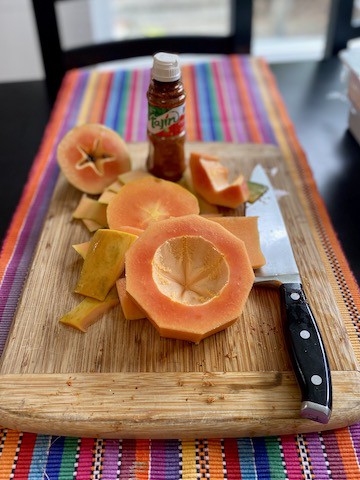
For example, fresh papaya sprinkled with Tajin. The addition of Tajin to this fruit makes it authentically Mexican and students get a kick out of trying this chili pepper/lime/salt seasoning on fruit – ewww!
 Also, keep in mind that the goal of presenting a Mexico food platter is not to fill the bellies of your students! Rather, it is to expose them to diverse flavors and ingredients that they might not otherwise ever get a chance to taste.
I encourage my students to at least sample each item and if they don’t like it, that is okay! We take time to talk about our anticipation of each food, what we think it might taste like, what our opinion was of that food, and whether we would eat that food again if given the opportunity.
I want to emphasize again that you do not need to break the bank when making these platters.
You can buy single items and cut them into bite-sized pieces, one for each student. This is all they need.
Below is an example of the Mexico sampler plates I prepared ahead of time for a class of 12 students.
I bought two tamales, one small papaya, two pieces of pan dulce (sweet bread), and a small serving of Nopalito salad, a salad made with Nopal cactus that always creates quite the buzz in my Mexico classes!
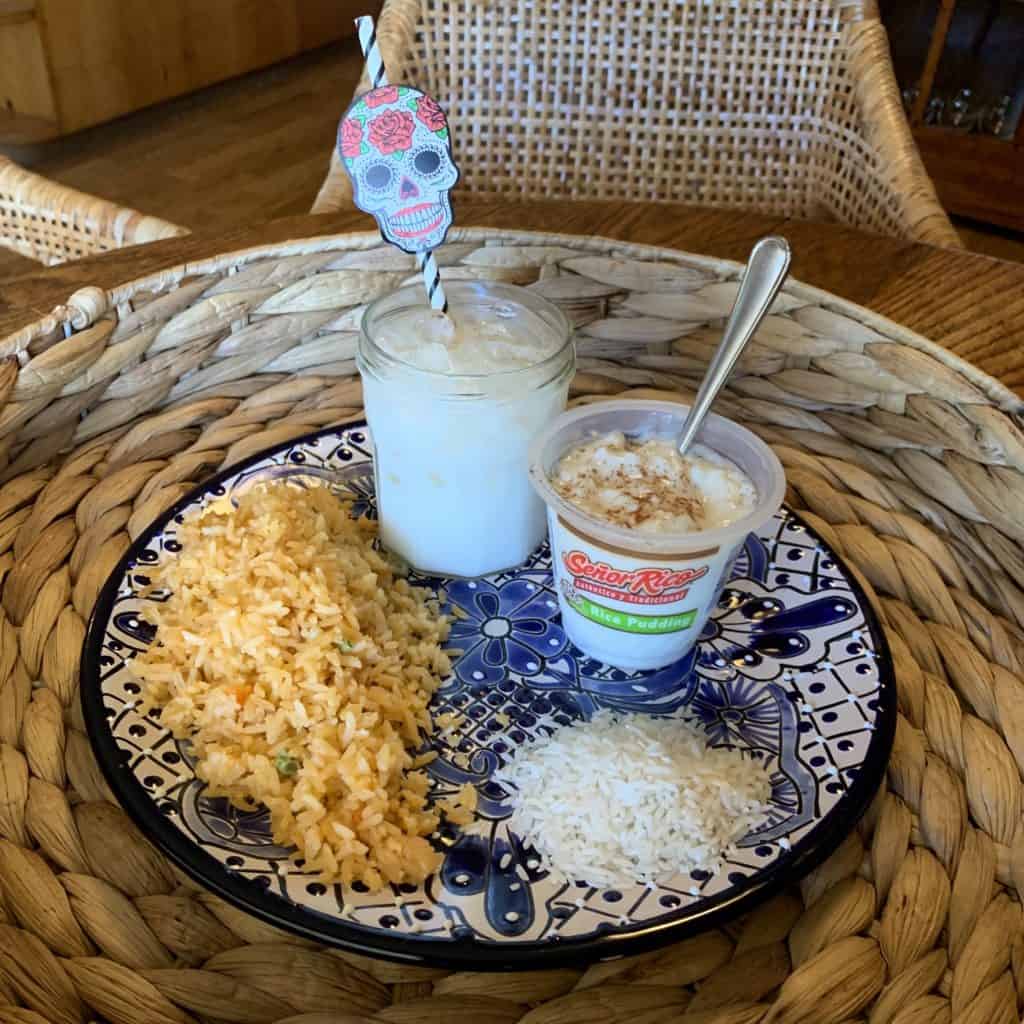
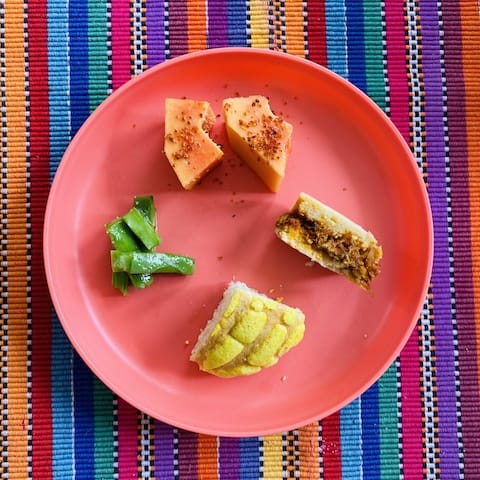 And lastly, here is a very simple platter with a focus on rice…I bought one to-go glass of horchata (a Mexican rice drink), a small container of prepared Mexican rice from the hot food section, and one rice pudding. We divided this up amongst our small homeschool group and each person got the perfect bite.
Don’t let introducing foreign foods to your students baffle you!
Find the perfect platter, pick a theme, visit a local foreign food market or your local grocery store, keep it simple and cost-effective, and present the best foreign food experience you can to your children or students.
KICKSTART YOUR MEXICO UNIT WITH A MEXICO COUNTRY BOARD!
Skip hours of research and get right to teaching your Mexico unit with the comprehensive, downloadable (PDF) Mexico Country Board. There is SO much information in this bundle – go see what you think! These boards are also great for cultural fairs, heritage days, and writing reports!
If you have any questions or comments about this Mexico unit activity for kids please leave a comment below.
And be sure to view my other Mexico crafts and activities for kids here!
