by Our Crafty World | May 10, 2023 | Home Featured, Turkey
Please follow and like us:
This week, as part of our unit on Turkey, we prepared one of the country’s most popular fast foods – Turkish Pide – and it was a hit among my middle-school students!
In this blog post, I’ll demonstrate how to make this Turkish recipe using readily available ingredients from your local grocery store. The best part? You don’t even need to make the dough from scratch!
FIRST, INTRODUCE TURKEY TO YOUR STUDENTS USING A COUNTRY BOARD
Using the Turkey Country Board I created (and will have for sale next week in my Etsy Shop, Countries on Board), you can easily teach the key country facts about Turkey, a transcontinental country located between Europe and Asia, known for its rich history, cultural diversity, and stunning natural beauty.
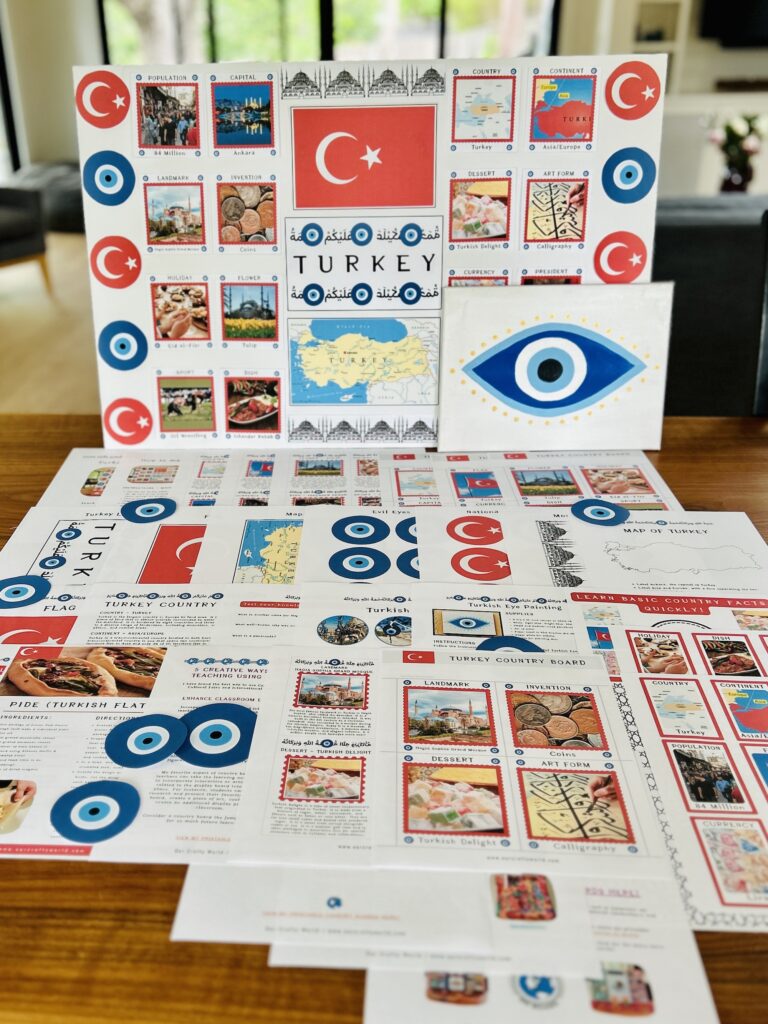
Country boards feature a particular country and serve as a visual aid to enhance students’ understanding of that country’s culture. I have been using them for 12 years!
With colorful images, interesting facts, and hands-on activities, students can learn about geography, history, culture, language, music, dance, literature, art, cuisine, and more. They can also be introduced to key historical events or figures that shaped the country’s past and present.
I encourage you to use a country board for your next country unit!
Also, be sure to read my blog post, All Hands on Turkey! How to Paint a Turkish Eye That Does Not Overwhelm the Young Artist, to incorporate art and additional learning into your Turkey Unit.
LET’S MAKE PIDE!
Pide is a traditional Turkish flatbread that is often compared to pizza due to its similar shape and toppings. The word “pide” comes from the Persian word “pida” which means “to open”.
The reason it’s considered “fast food” is because it is a popular street food in Turkey, often sold from small kiosks or mobile carts. You can find it everywhere!
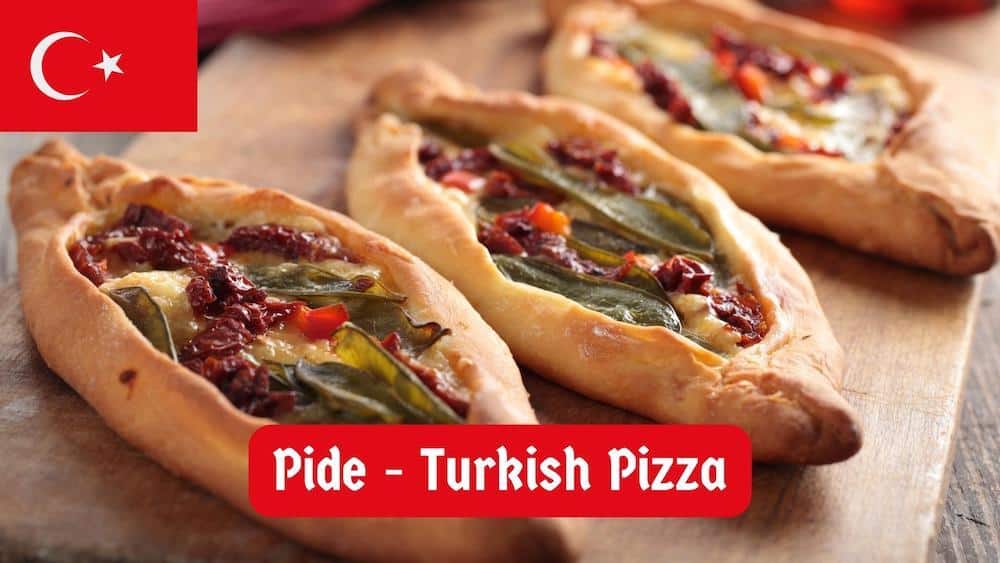
SIMPLE INGREDIENTS FOR PIDE
To make pide, you will need:
One package of frozen Puff Pastry dough (this makes 4 individual pides)
Olive oil
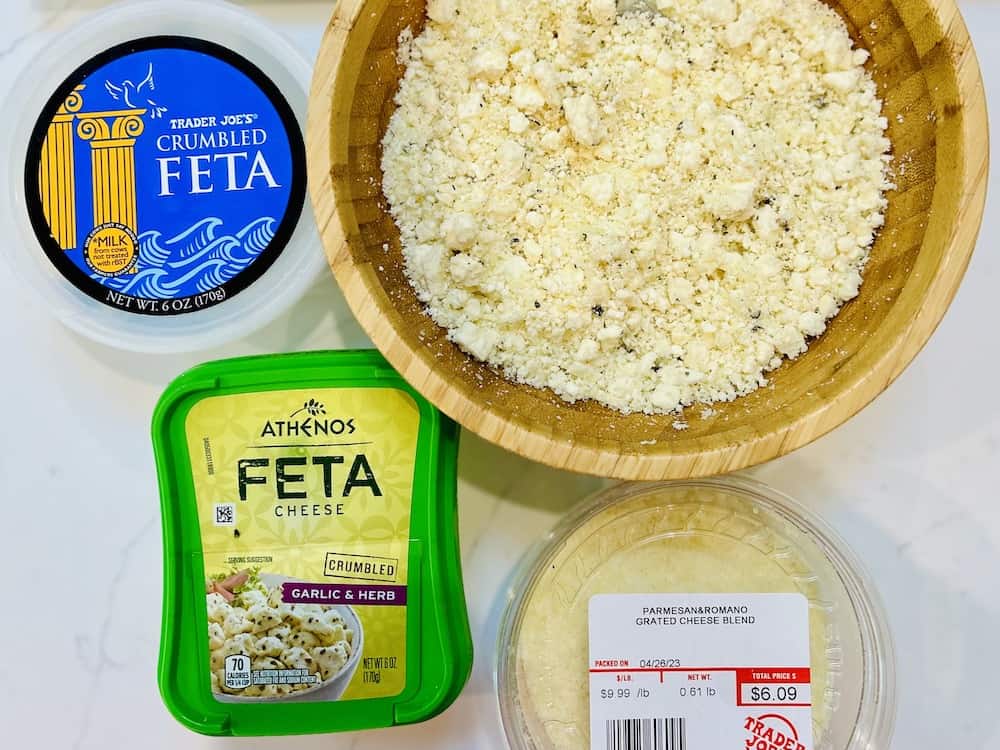
Grated mozzarella cheese
Grated parmesan cheese
1 container of Feta Cheese (I recommend using Athenos Garlic & Herb crumbled Feta)
Ground lamb (this is an optional topping). Sauté in a pan with olive oil, salt, pepper, and oregano to taste.
Parchment paper
Salt/pepper
COOKING INSTRUCTIONS
To start, open your puff pastry sheets and divide them in half with a knife. You can roll out the dough a bit if you like, but this is not necessary.
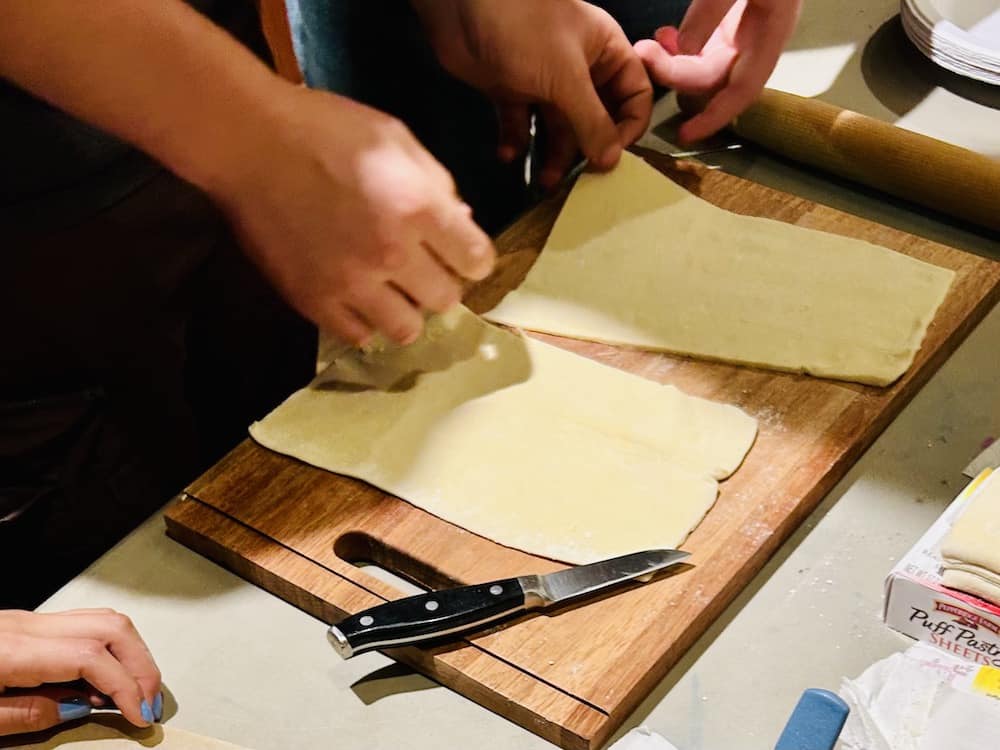
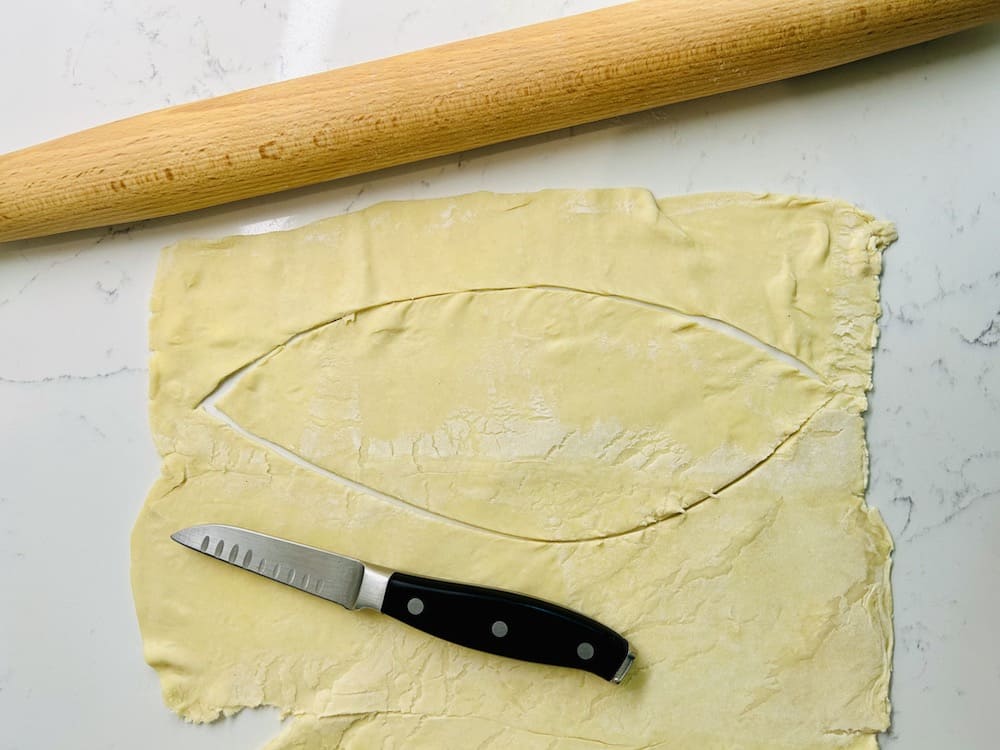
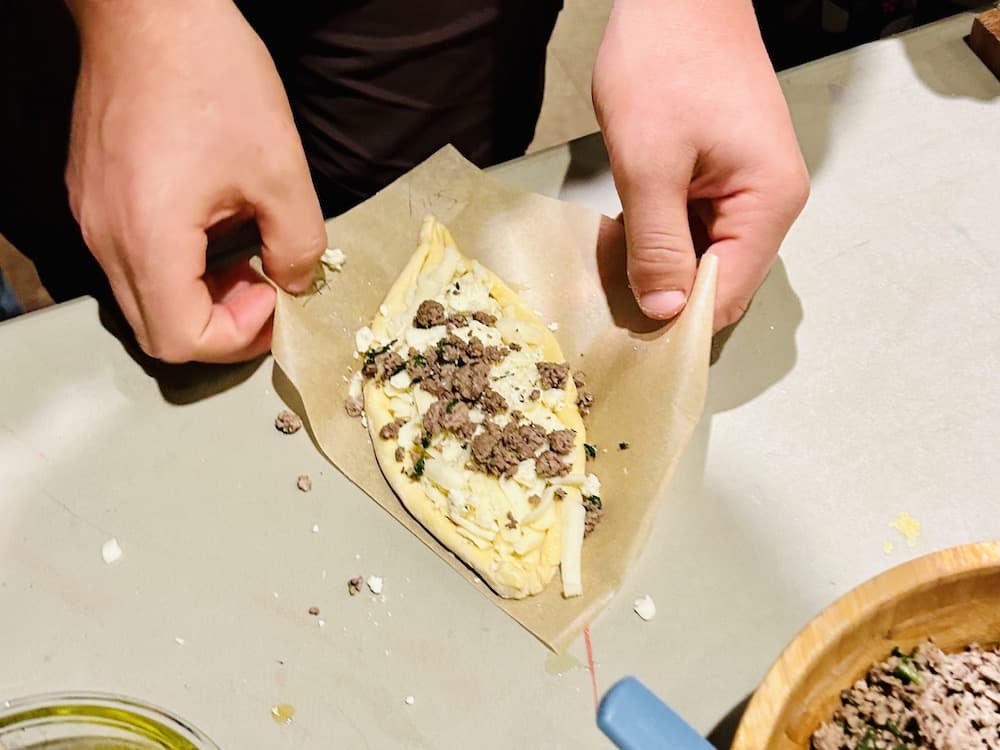
Using a knife, cut an almond (eye) shape out of the puff pastry sheet.
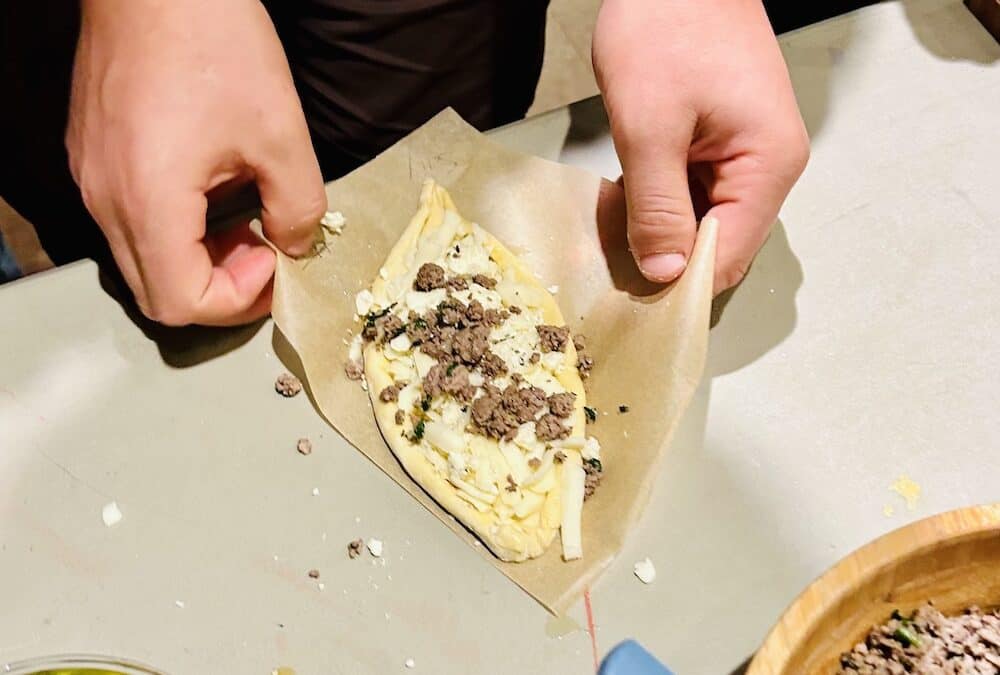
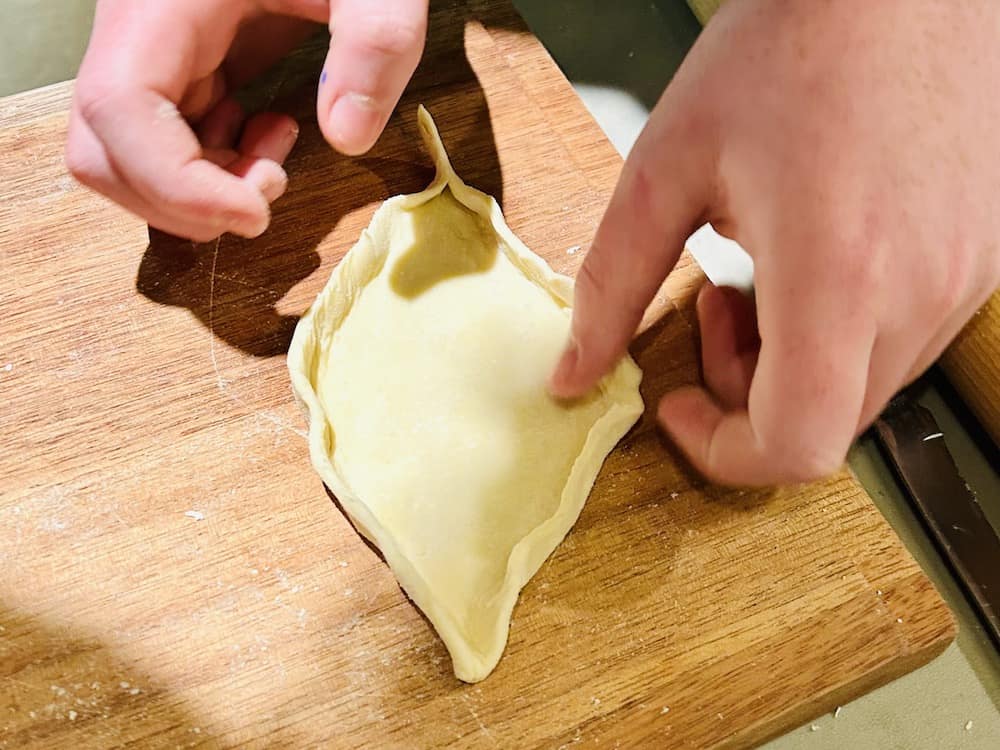
Pinch the ends together tightly and then roll and pinch the edges of the almond shape to make a “boat” for the ingredients.
Lightly brush the bottom with olive oil and then season with salt and pepper.
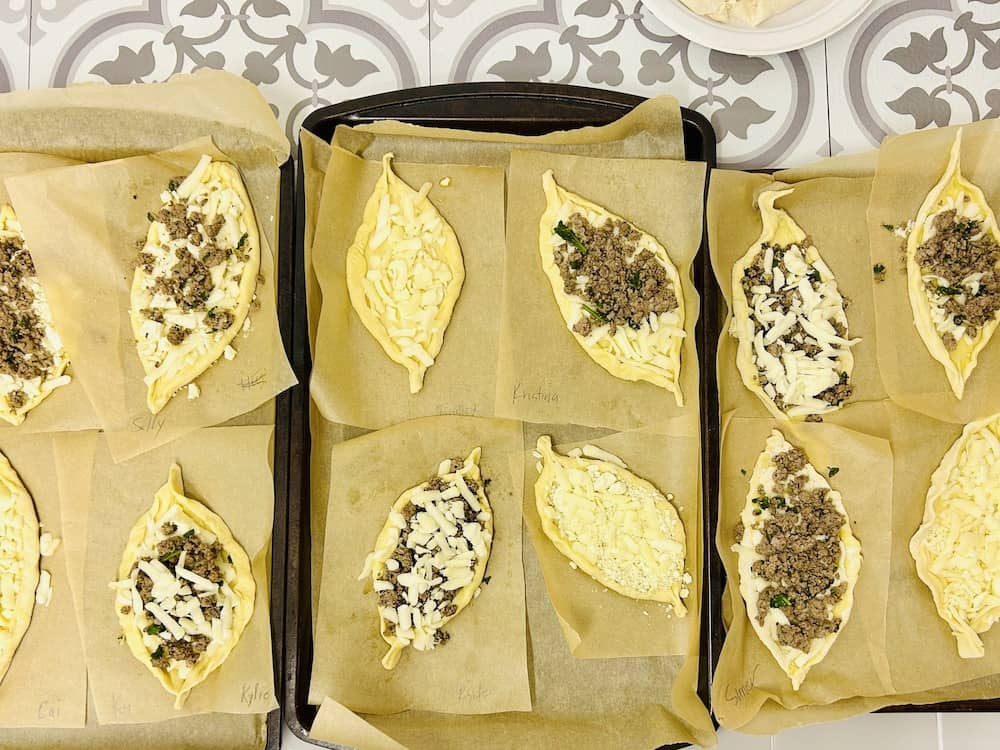
Add a layer of mozzarella cheese followed by a mixture of feta and parmesan, which can be made by combining both containers of cheese with a small amount of olive oil.
Next, top with the ground lamb mixture (see the ingredient list for how to prepare the lamb).
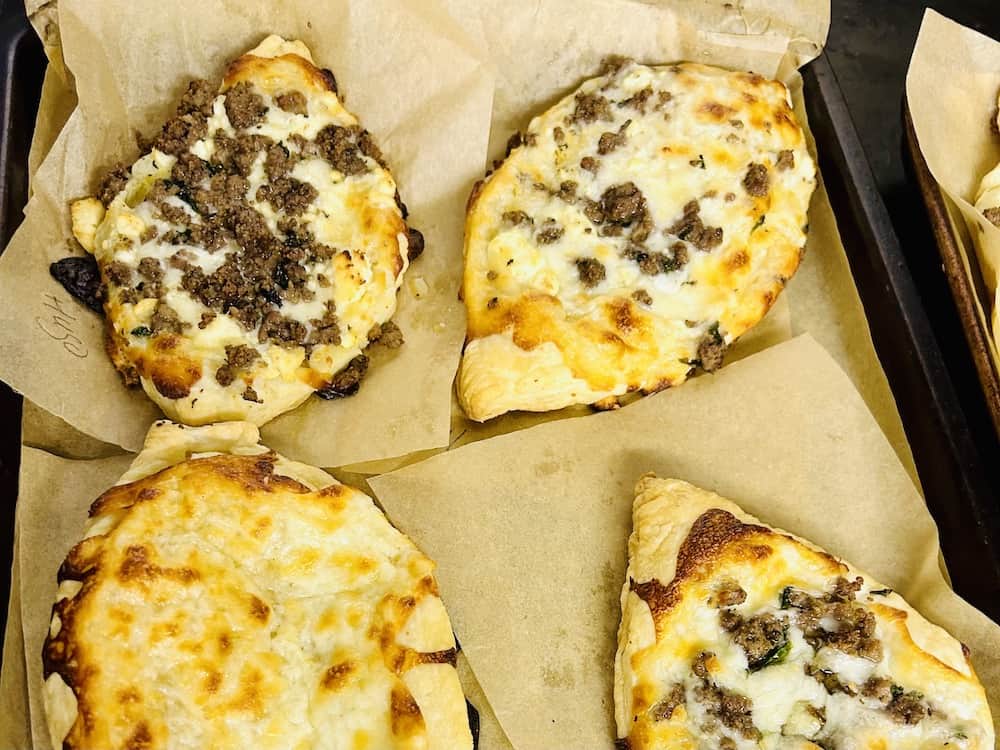
Transfer your uncooked pide to a baking sheet lined with parchment paper and bake for 10-15 minutes at 400 degrees, or until the sides turn a light brown.
Let cool a bit and serve warm. Enjoy Turkey’s most popular “fast food”!
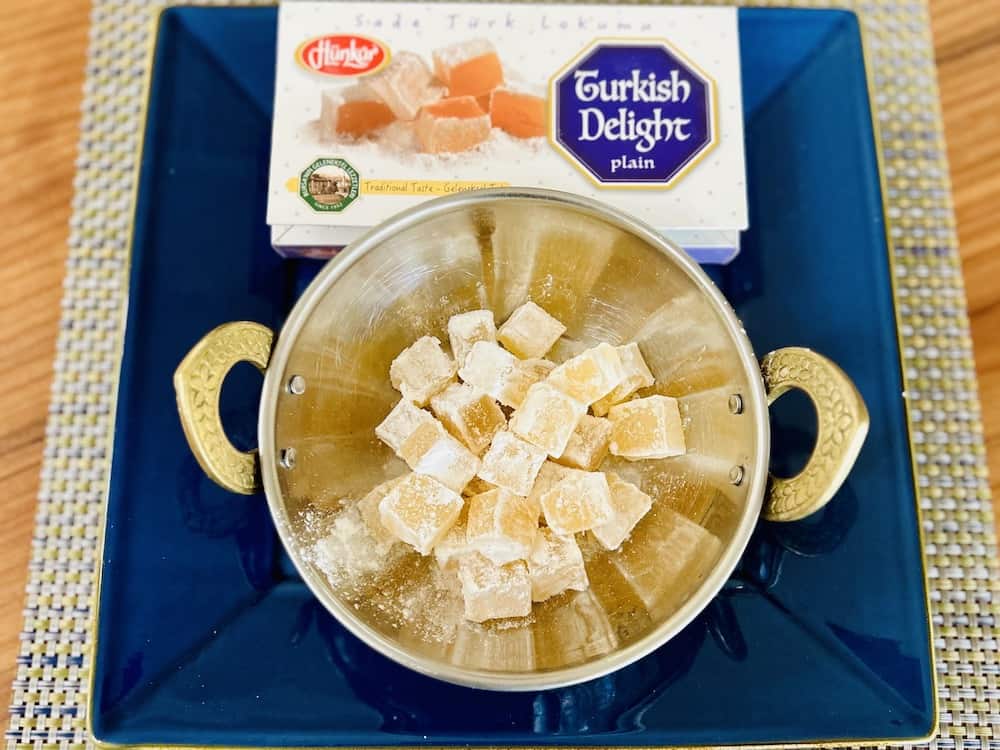
AN ADDITIONAL SWEET TREAT FROM TURKEY
To offer my students a taste of Turkey’s national dessert, I served a sweet treat alongside the Pide, which I found at a local Middle Eastern Market. It can also be purchased on Amazon or at Trader Joe’s, according to my students.
Be sure to read my blog post, All Hands on Turkey! How to Paint a Turkish Eye That Does Not Overwhelm the Young Artist, to incorporate the addition of art into your Turkey Country Unit.
Thank you for taking the time to bring world culture into the lives of your children or students!
Please follow and like us:
by Our Crafty World | May 10, 2023 | Home Featured, Turkey
Please follow and like us:
Want to know my favorite must-haves for every country unit I teach? Yep, art and cooking!
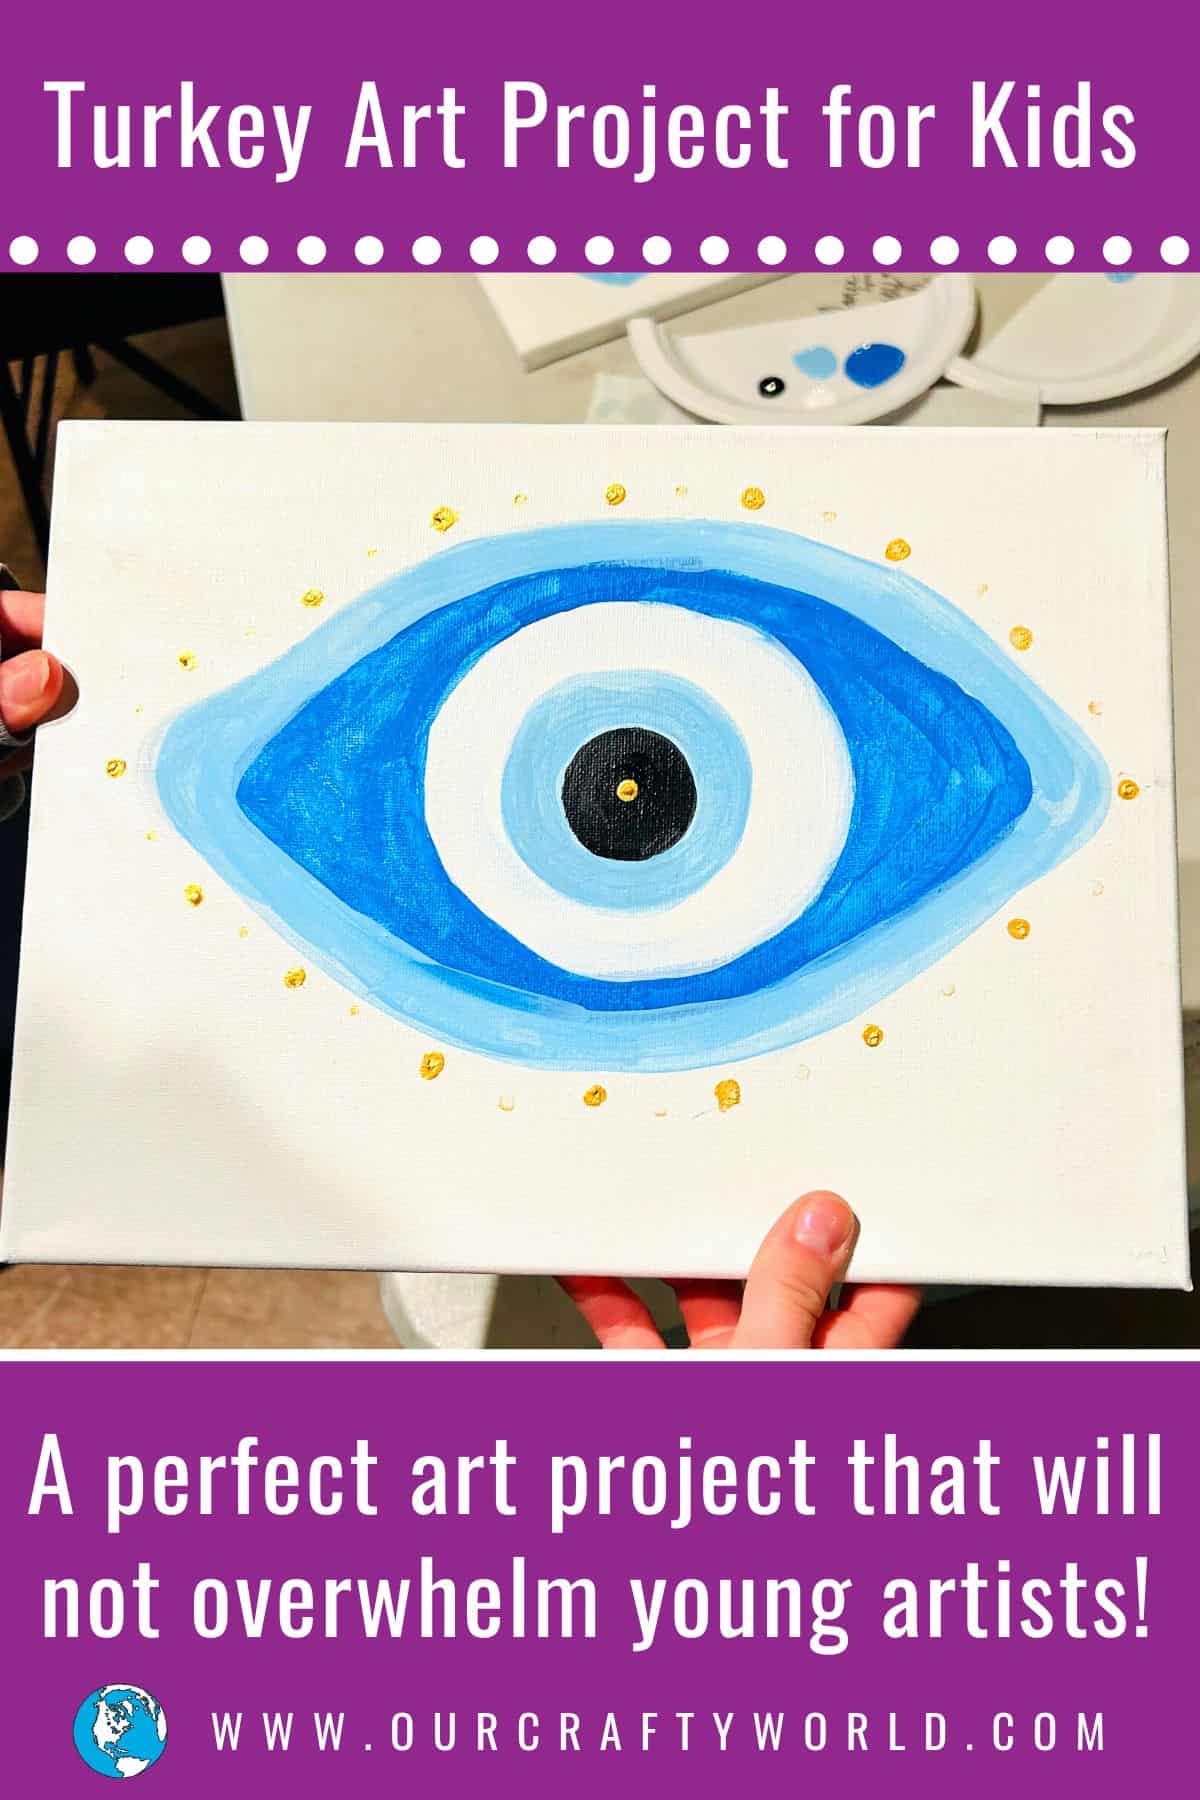
In the blog post below, you can learn how to teach a very doable Turkey art project for kids, and then head over to my blog post, How to Make One of Turkey’s Most Popular “Fast Foods” With Kids, to dive deeper into your Turkey unit.
KICKSTART THIS TURKEY ART PROJECT FOR KIDS WITH A TURKEY COUNTRY BOARD
Using the Turkey Country Board I created (and sell in my Etsy Shop, Countries on Board), we learned the key country facts about Turkey, a transcontinental country located between Europe and Asia, known for its rich history, cultural diversity, and stunning natural beauty.
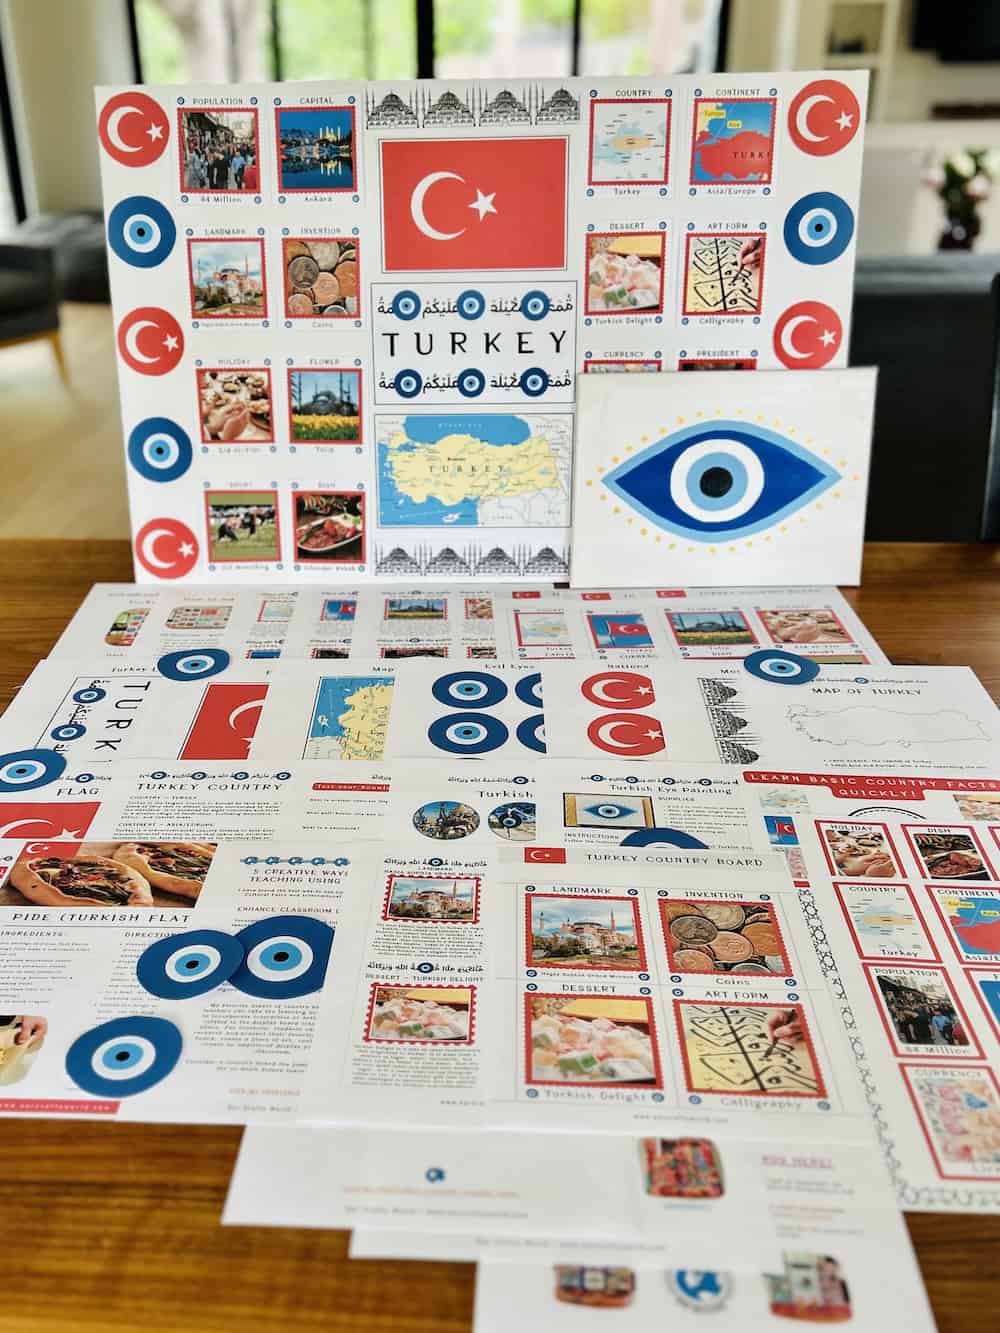
Country boards feature a particular country and serve as a visual aid to enhance students’ understanding of that country’s culture. I have been using them for 12 years!
With colorful images, interesting facts, and hands-on activities, students can learn about geography, history, culture, language, music, dance, literature, art, cuisine, and more. They can also be introduced to key historical events or figures that shaped the country’s past and present.
I encourage you to use a country board for your next country unit!
HOW TO MAKE A TURKISH EYE PAINTING FOR YOUR NEXT TURKEY UNIT
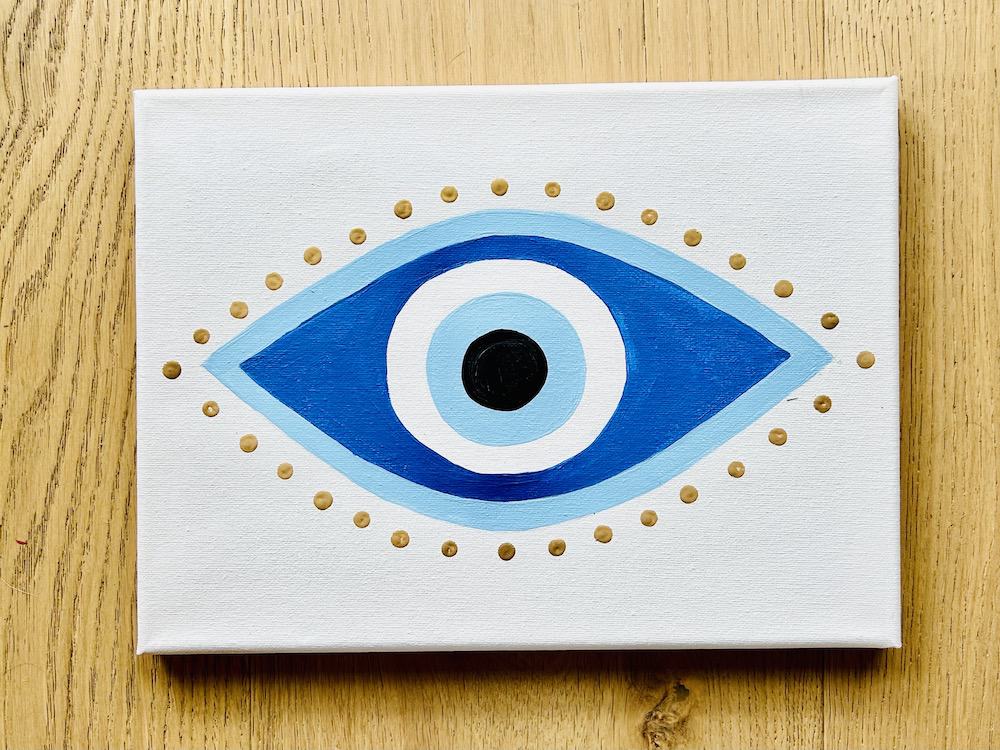
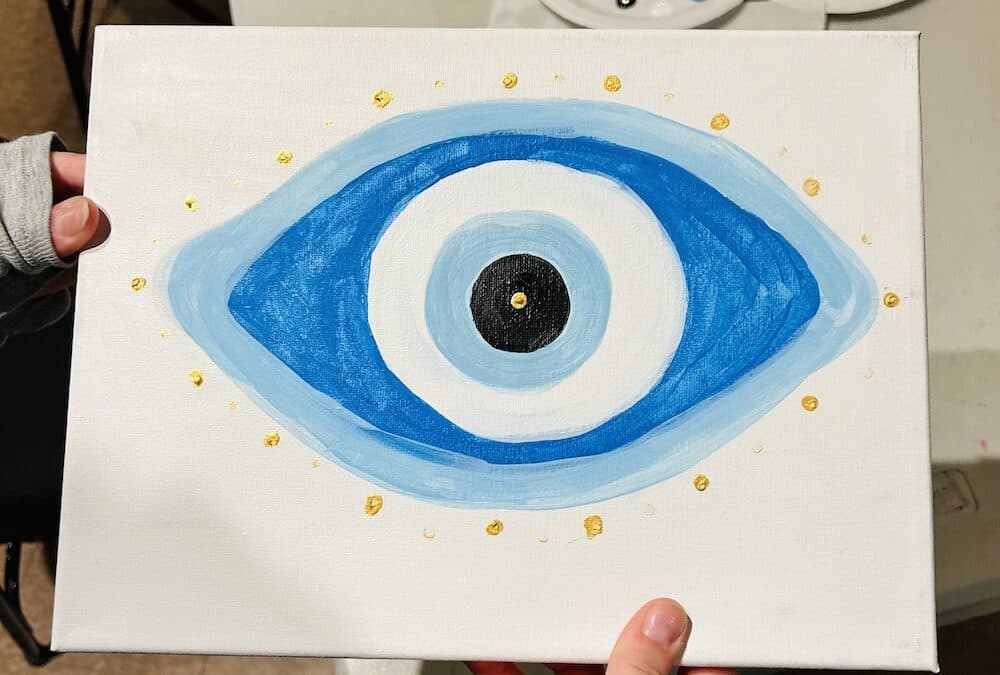
The Turkish eye, also known as the Nazar, is a protective symbol used in Turkish culture to ward off the evil eye and bring good luck. I picked this aspect of Turkey to paint because It boldly represents a symbol synonymous with the country.
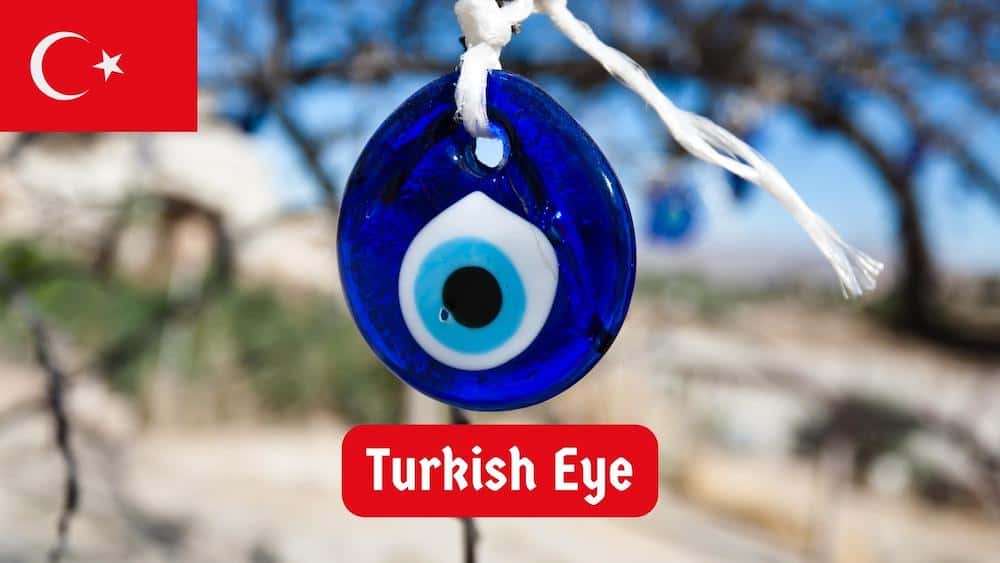
My students enjoyed painting the Turkish eye because its simple shape is easy to draw, and the painting process involves only curved lines, without any intricate details to fuss over.
LET’S PAINT! FIRST, GATHER YOUR SUPPLIES
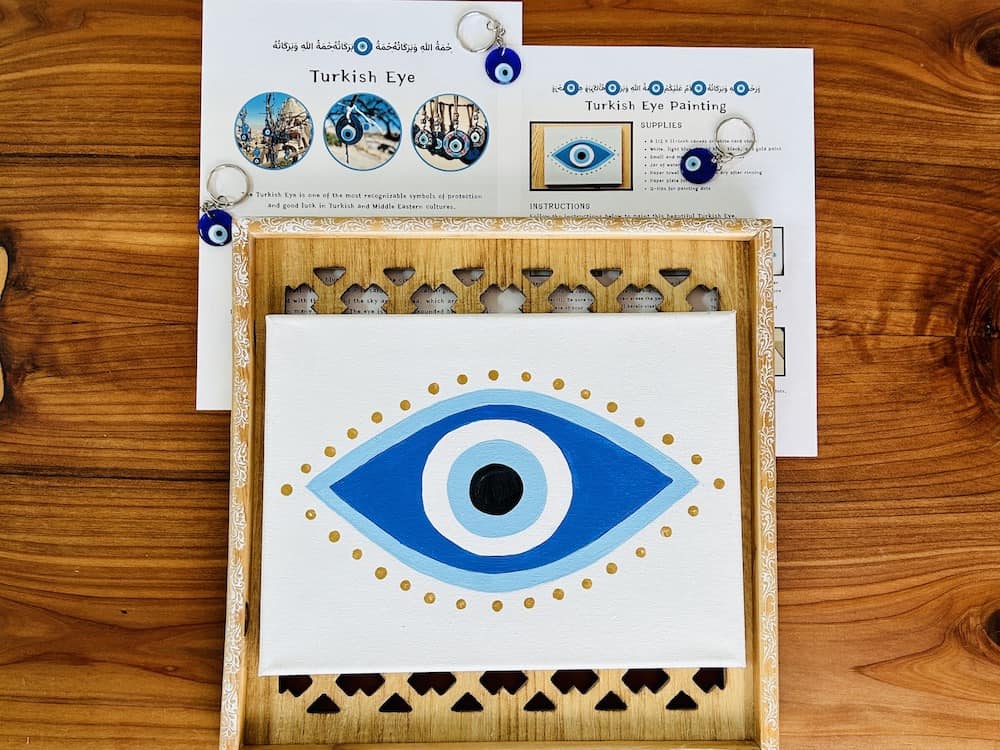
DOWNLOAD FREE INSTRUCTIONS: If you would rather print instructions, versus follow the steps below, click here.
I used white, light blue, bright blue, black, and gold acrylic paint for this project. You will also need a jar of water, a paper plate for a palate, paper towels for blotting the paintbrush dry between colors, and Q-tips for painting the gold accent dots around the eye.
I bought inexpensive 9 X 12-inch canvases in bulk on Amazon. I prepped these ahead of time with one coat of white paint. You could also use 8 1/2 X 11-inch white card stock or multi-media paper.
INSTRUCTIONS FOR PAINTING A TURKISH EYE
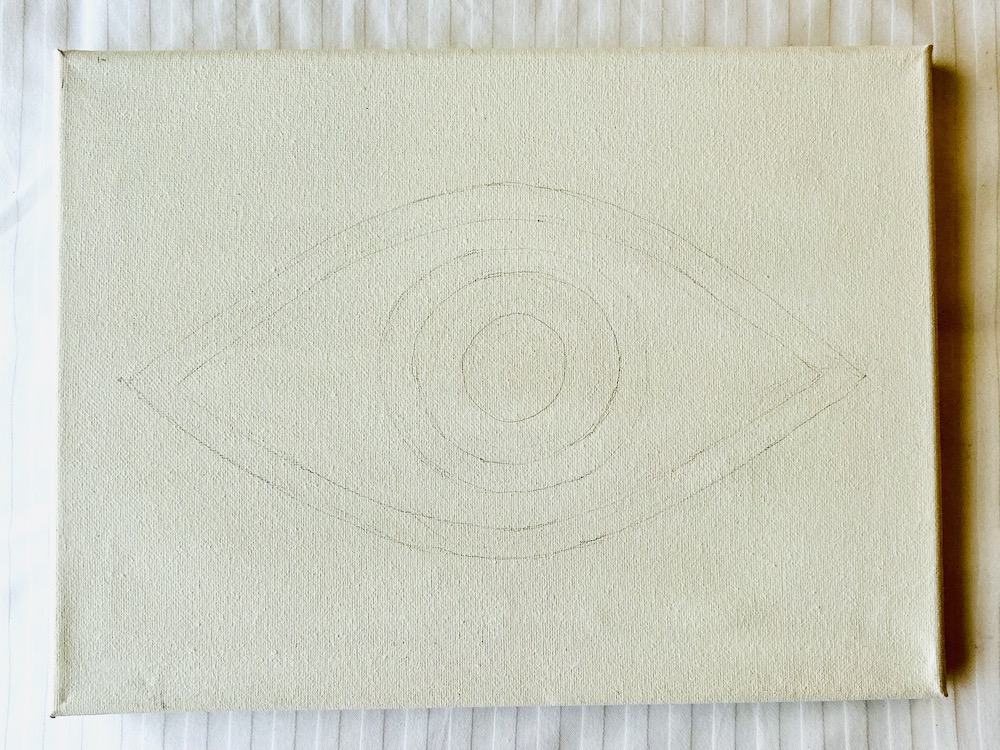
You can start by sketching the eye shape LIGHTLY onto the canvas with a pencil.
PRO TIP: Before painting, advise your students to erase their pencil marks lightly, leaving them barely visible, to ensure that they won’t be noticeable under the paint.
Paint the white circle of the eye first and let it dry.
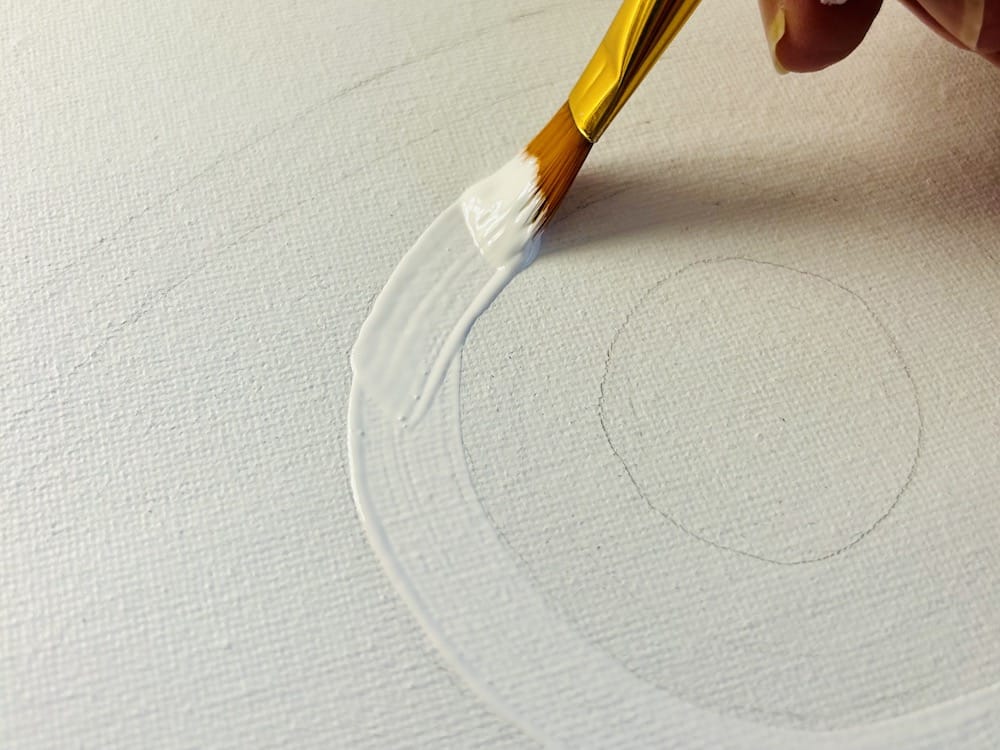
Next, paint the light blue center circle, letting it dry before painting the black pupil. Then paint the outer light blue border.
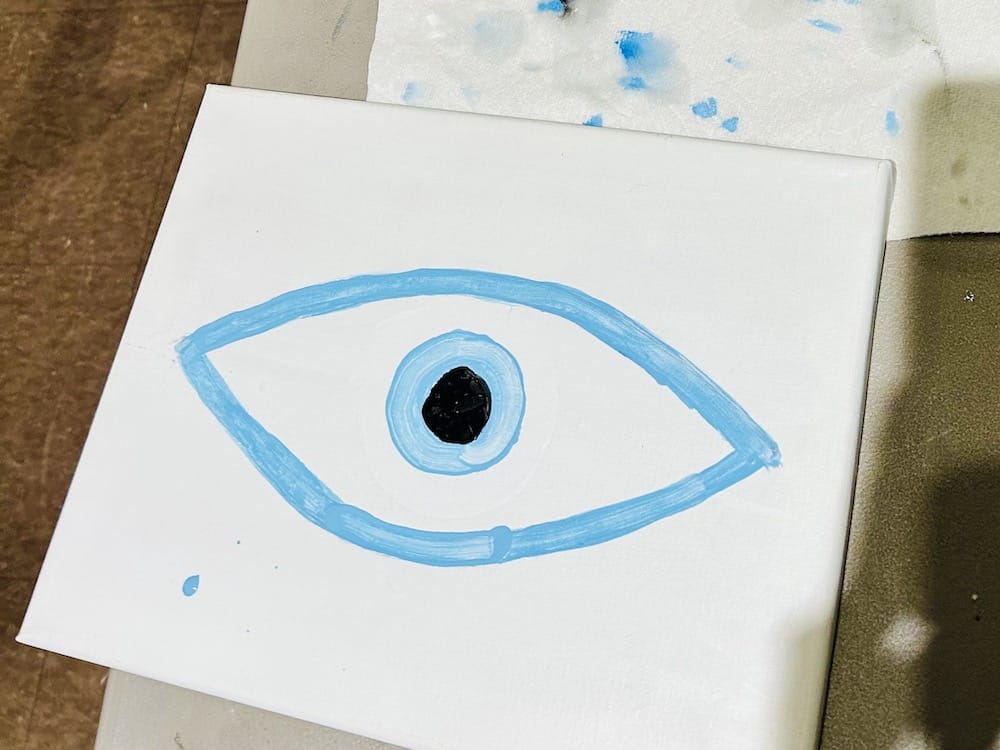
Complete the eye by painting the bright blue inner section, applying a second cost to any areas that appear thin or streaky, resulting in a finished painting with bold, vibrant colors and a clean canvas appearance.
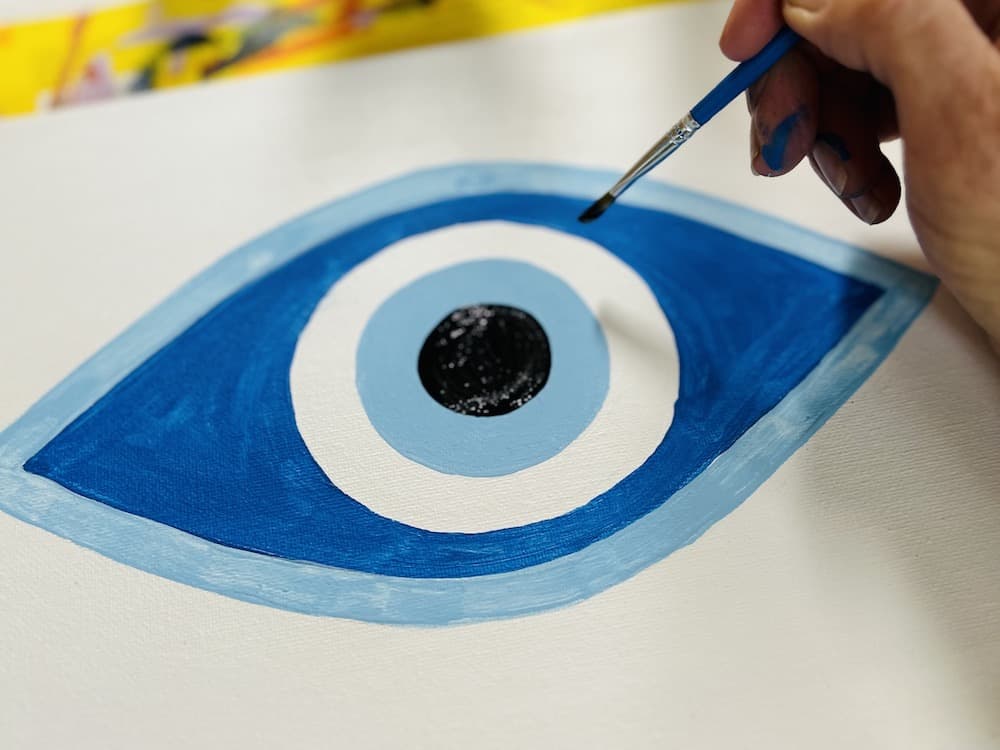
Using a Q-tip, students can paint the gold detail around the eye by first painting evenly spaced dots on the upper, lower, right, and left sides of the eye.
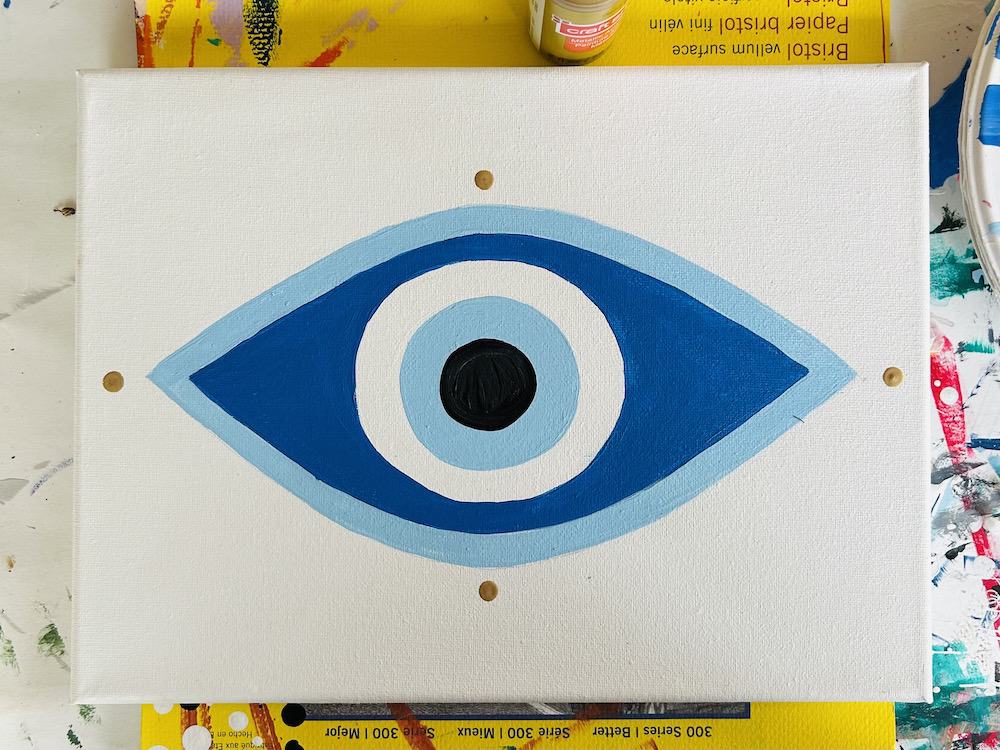
Instruct them to paint a dot in the exact middle of each of those dots, and so on until the gold border is finished.
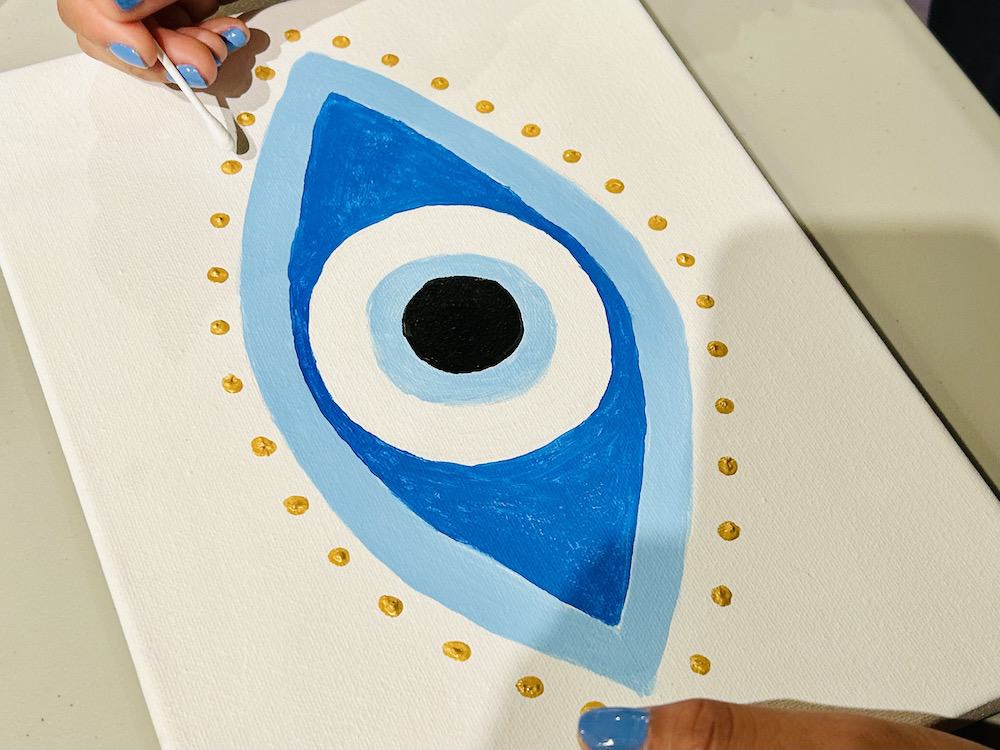
Your Turkish eye painting is complete!
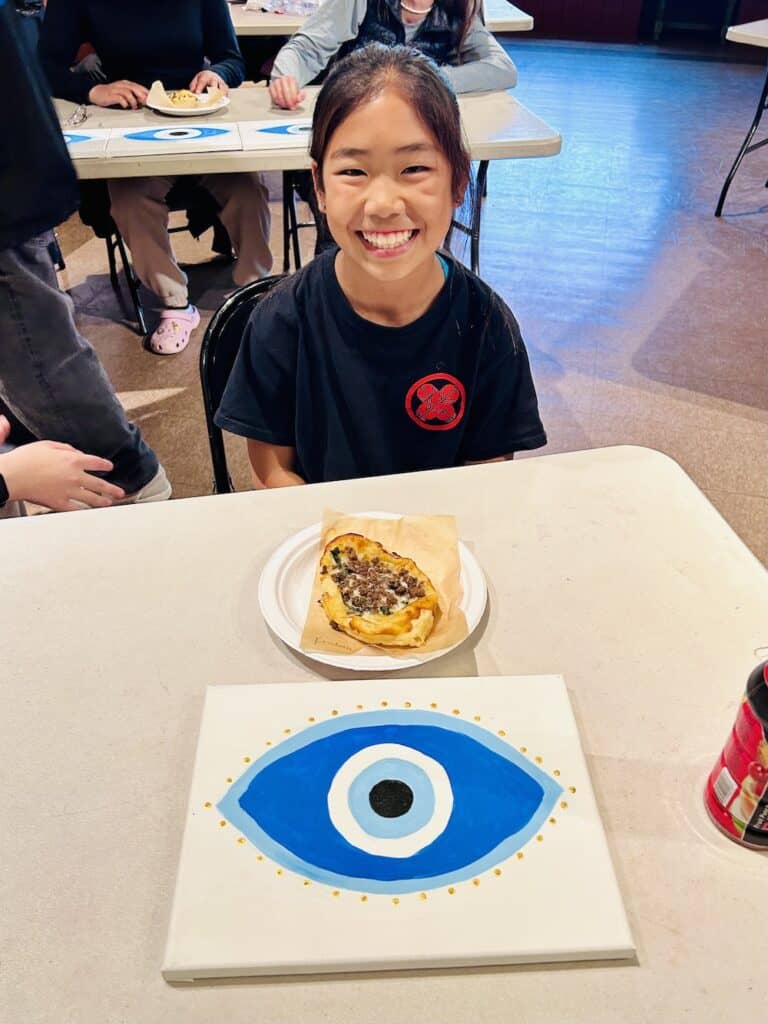
GIFT THIS BEAUTIFUL TASLIMAN TO SOMEONE IN NEED
I encouraged my students to gift this painting to someone special, maybe even someone who could use a little extra protection or good luck. Or, they could hang it prominently in their own home for the same reason.
I hope your students enjoy this Turkey art project for kids as much as mine did!
Please leave any questions you have about this Turkey art project for kids below.
Please follow and like us:


